
What was once all the rage in the ’90s quickly became a key component of the dad uniform. The fanny pack, preferably forward-facing was rarely seen without a pair of denim (or cargo) shorts, white sneakers, and an oversized polo. As such the bum-bag quickly became the epitome of uncool.
Speaking of uncool, something else that is totally uncool is the typical hydration backpack. The ubiquitous backpack hydration pack is the savior and the bane of almost every mountain biker. It allows you to carry everything you could possibly need, but it’s heavy and contributes to an excessive amount of back sweat.
Is a hydration fanny pack actually any better than any other alternative?
Many of us have gone down the road of taping and strapping as much kit to our bikes as possible. Thus the return of the water bottle cage and water bottles can, once again, be found along side the trail adjacent to fast, bumpy sections of trail.
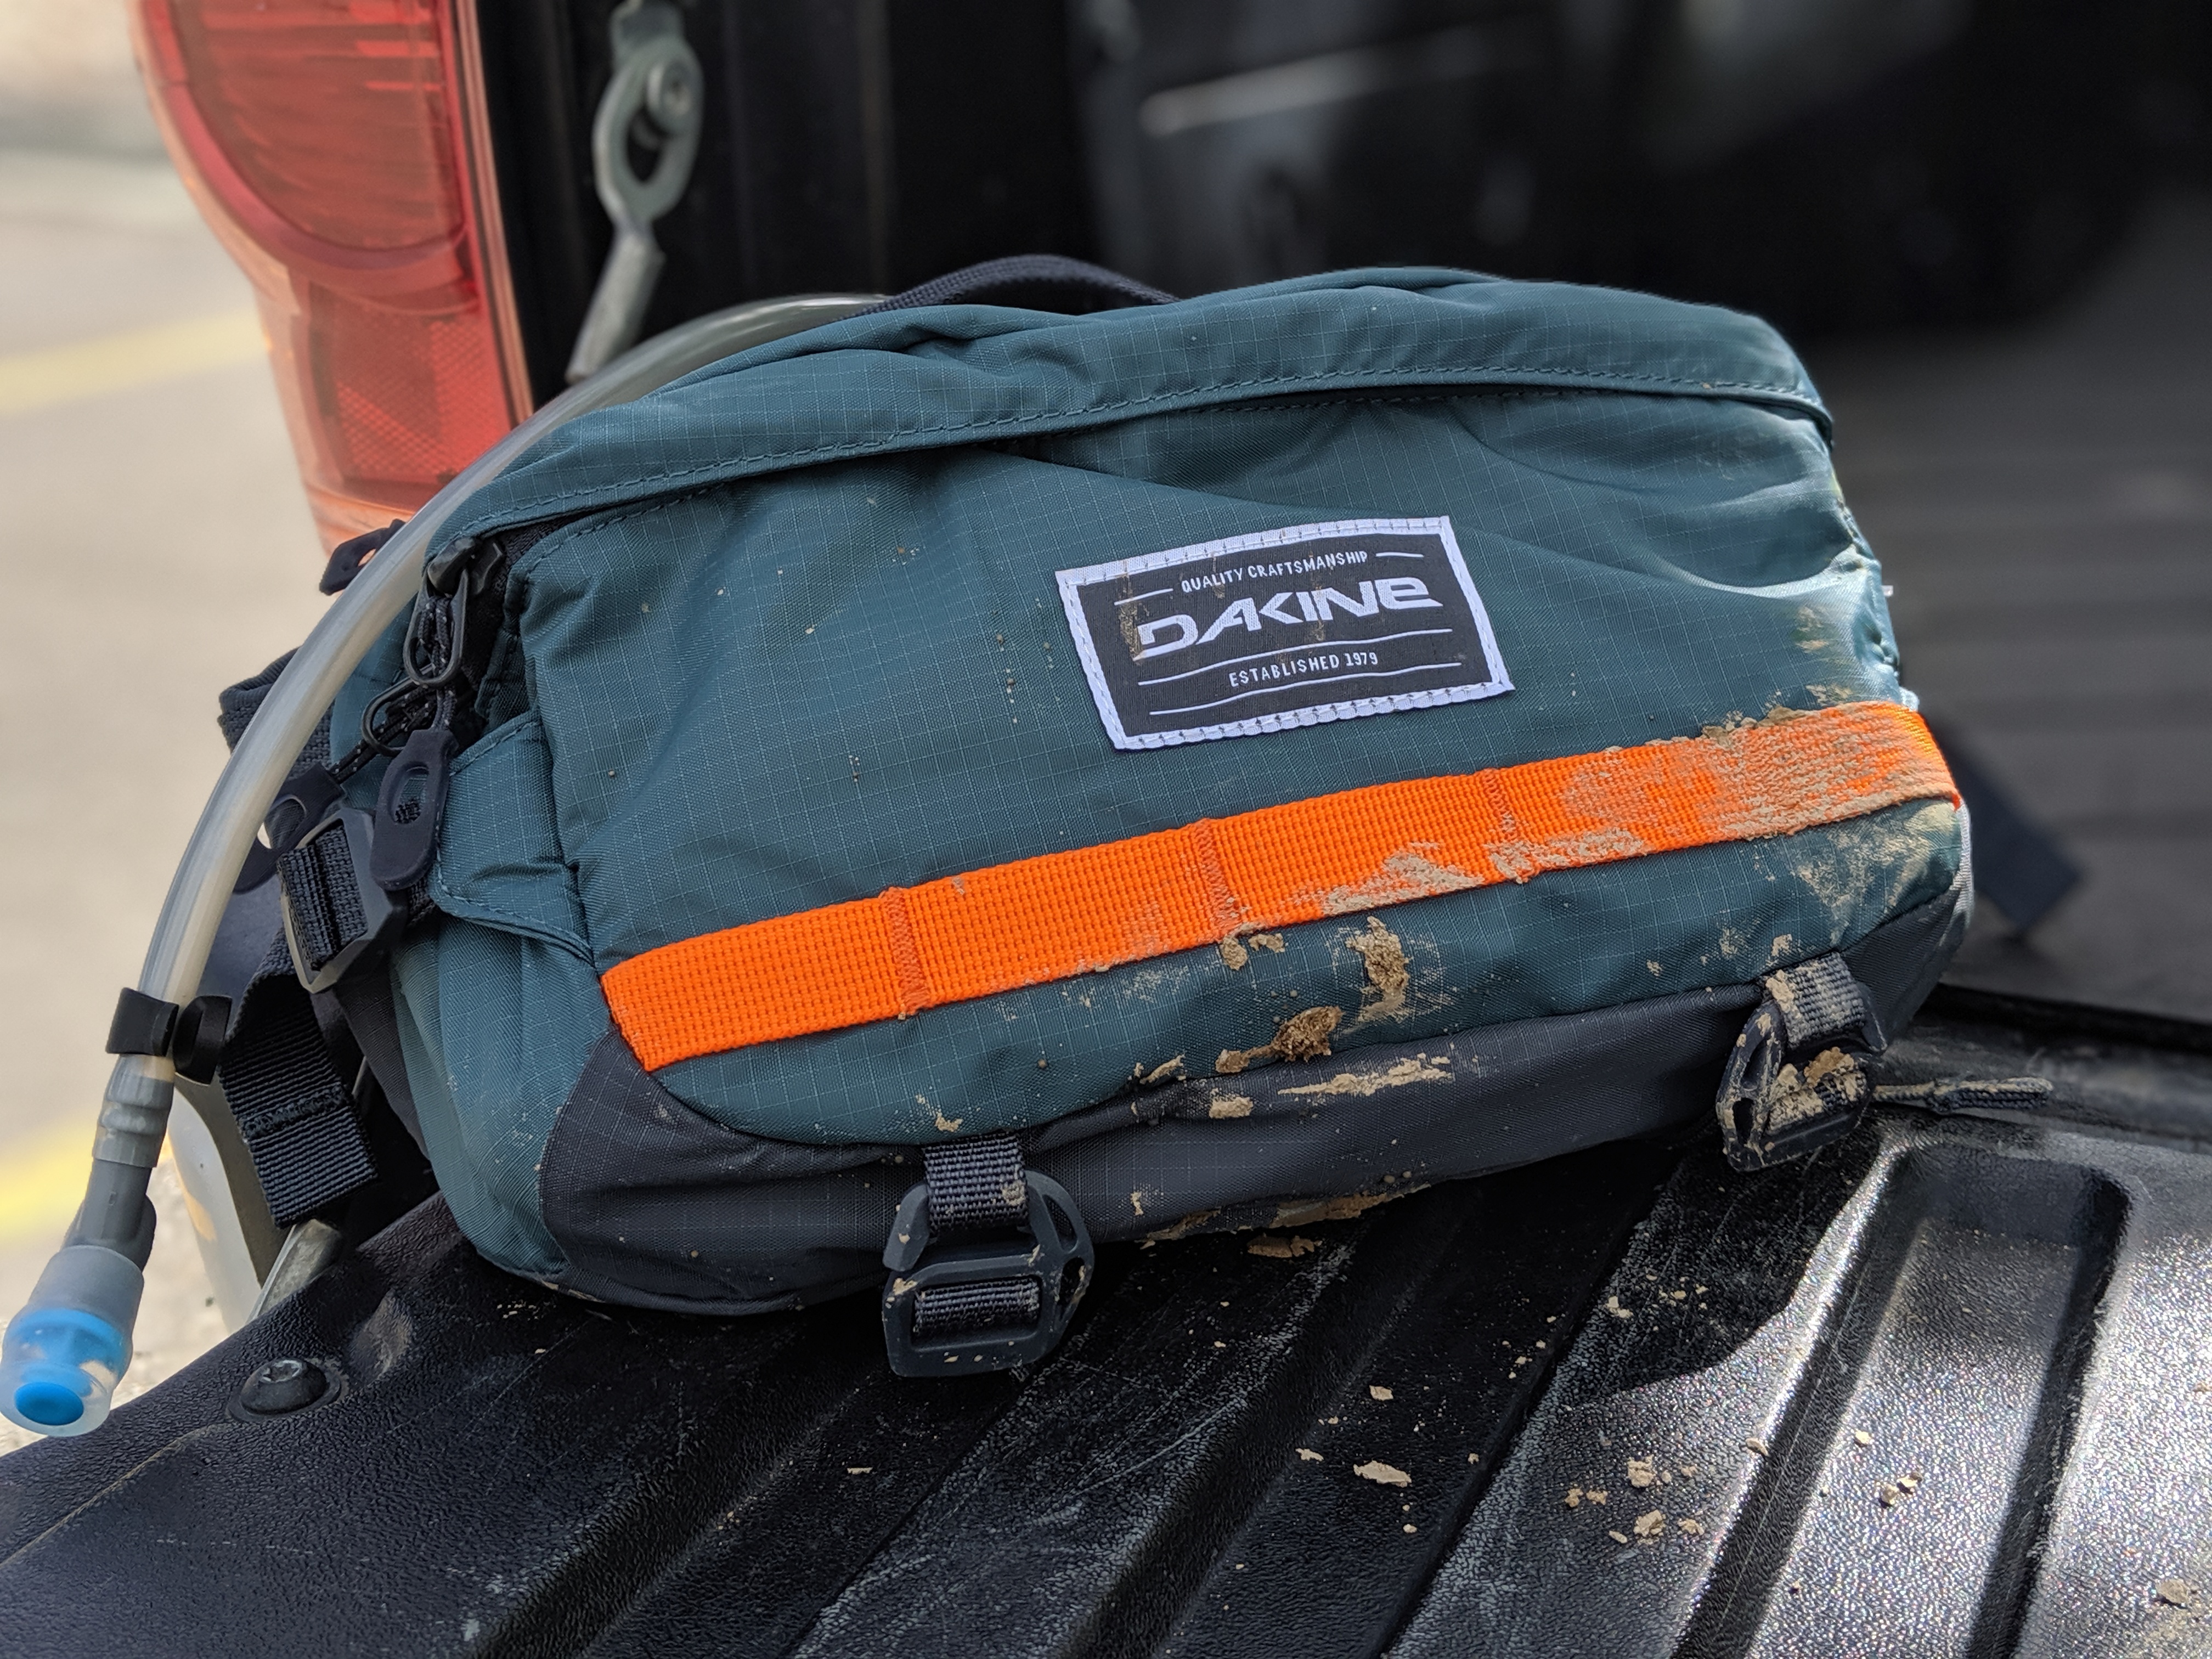
Dakine, as well as several other vendors, have tried to reconcile these three things and what was old is now new again and fancy hydration fanny packs are all the rage. But my question was is a hydration fanny pack actually any better than any other alternative?
The Bare Necesities
For me, the point of going to a fanny pack was, first and foremost, heat. The weight of my backpack wasn’t too cumbersome, so in choosing which pack to try, I was most concerned with would it be able to carry the things that were of the most value to me. Because I run Cush Core tire inserts, carrying a tube is pretty much moot. There simply is no way to do a trail-side tube insertion, but that also reduces how
Below was the list I created of the items that I was unwilling to leave behind, as well as things I’d like to bring along.
Requirements
- Water, at least 1.5 liters
- Small Tire Pump
- Crank Brothers Multi-Tool
- Dynaplug Tire Repair Kit
- First Aid Kit
- Zip-Ties
- Derailleur Cable
- Master Link, Extra Bolts
- Phone
- Keys
A pump was more important to me than a CO2 cartridge because I’m more likely to air up or air down based on conditions. Plus, since I ride alone the vast majority of the time, I was unwilling to leave a basic first aid kit behind. The other big challenge was that I am pretty uncomfortable descending without, at the very least, knee armor.
Optional
- Knee Pads
- Jacket
- Clear Sunglasses
- Handlebar/Head Lamp
- Food/Snacks
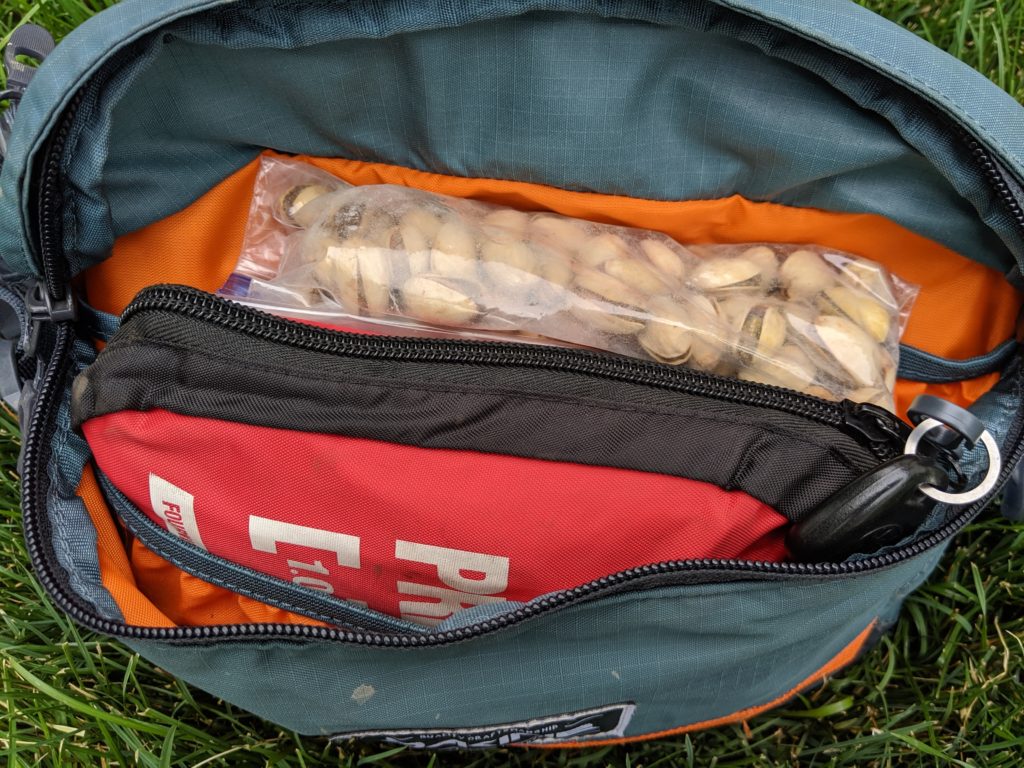
- Dog Bowl
To kinda’ help keep everything a little more organized, I ended up combining my essential bike repair kit with my first aid kit.
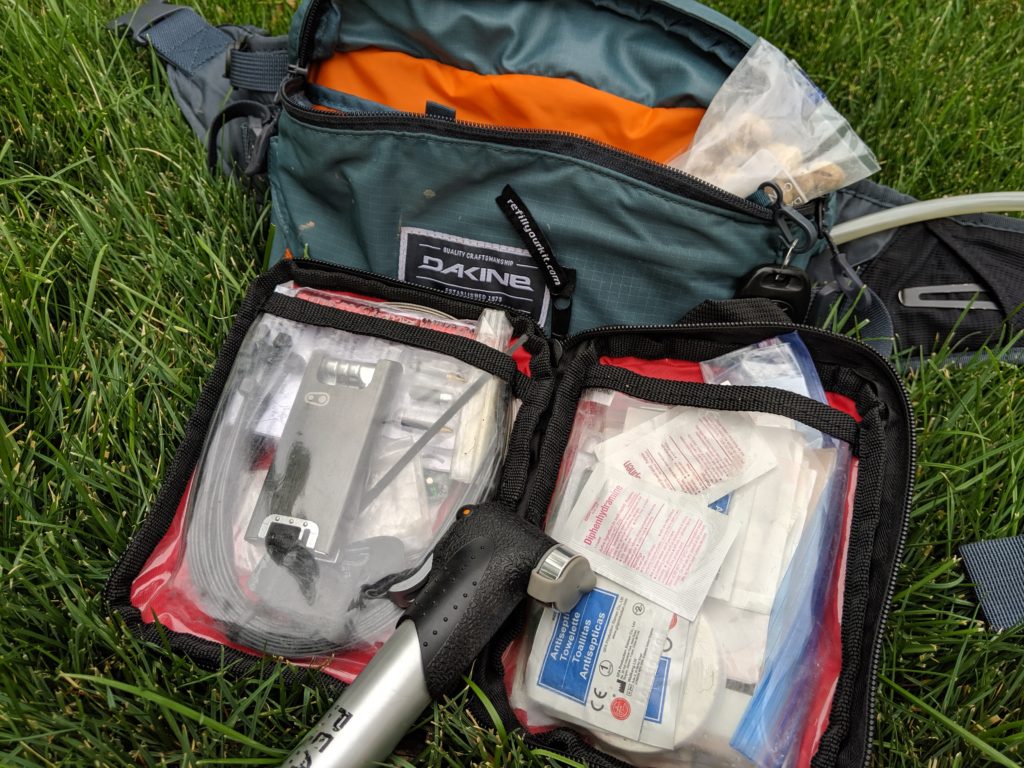
I removed a lot of the basic band-aids and burn ointment stuff in favor of big bandages, sting-kill (never leave home without this stuff), ibuprofen, etc., as a way to trim things down to what I would need most often. The end result is that this is the largest item in the pack now. It’s consolidated so I can relocate everything to a larger back very easily, but I’m still looking for ways to get this a little smaller and easier to manage.
External Straps
A great little feature I really like is the external straps. This allows me to add my knee armor or a jacket externally to the bag. Further extending the usefulness and flexibility of the item without making it unnecessarily big when those additional items aren’t required.

But What About the Dog
It’s a little harder when accommodating the
The Downsides
It’s more fiddly. As you drink down the water, the bag will start to slump and shift around while riding, so I do have to stop from time to time to tighten the waist strap, or tighten the side-adjust straps to keep the bag from moving around.
If you want to access your stuff you have to loosen the waist strap and rotate the bag around the front (which tends to rotate your shorts as well). The other option is to remove the bag, but the way the hose also wraps around you, you have to disconnect it from its magnet attachment which means the nipple could end up in the dirt. I find myself mostly just rotating the bag around then readjusting my shorts before heading off. Honestly,
I haven’t been able to bring myself to put on the backpack once since I picked this up five months ago
It works better when the bladder is 2/3rd (or less) full. When the bladder is totally full the bag feels really heavy so I’ve found that I don’t ever fill it up all the way. My average ride is in the neighborhood of 20-miles, so I find that I now just pre-hydrate driving to the trailhead and even with summer temperatures climbing well over 100 degrees (40C), I haven’t emptied the bladder yet.
Is It Worth It?
It’s, without a doubt, cooler and more comfortable. Once the straps are properly adjusted, it’s pretty easy to forget all about it. But where it really shines is during fast, bumpy descents, the bag doesn’t move or shift around at all. For this reason, even with limited storage and being more fiddly, I haven’t been able to bring myself to put on the backpack once since I picked this up five months ago.
For me, and the kind of riding I enjoy (long rides with big climbs finished off with fast, chunky descents) the compromises are well worth it for the added temperature comfort and the fact that it doesn’t bounce around during my favorite parts of the ride; the ride back down the hill.
Update: One Year Later
Unfortunately, the Dakine Hot Laps bag only survived one year of use. The bag itself held up okay, but the low-end water bladder that comes in the Hot Laps sprung a leak. A cost of a replacement bladder is basically the cost of the entire bag itself. Not really worth it. We replaced the Hot Laps with a EVOC Hip Pack Pro. You can expect a full review.